Teaching Scrapbooking

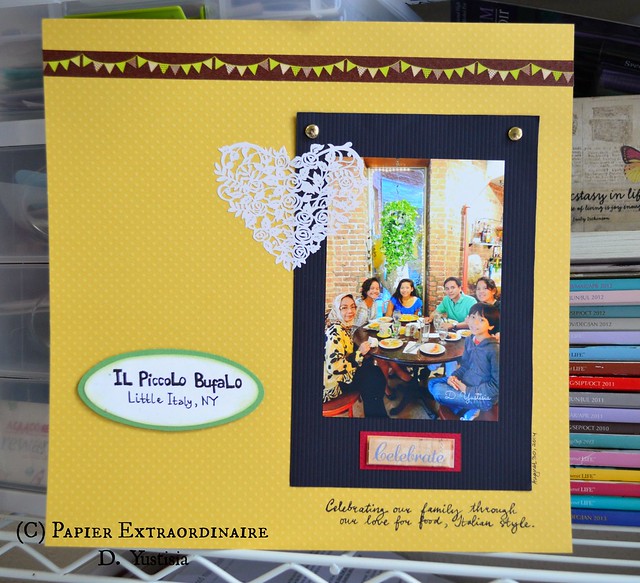
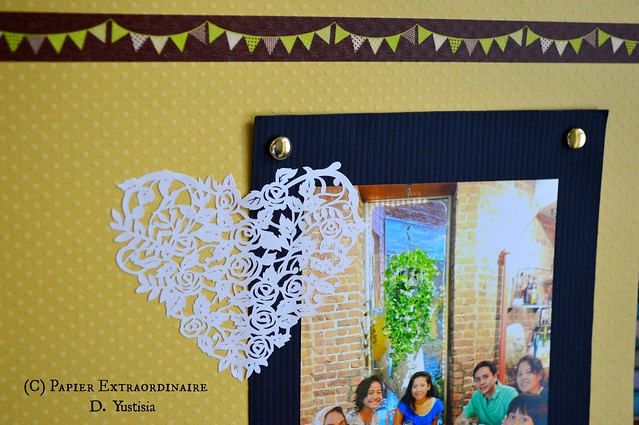
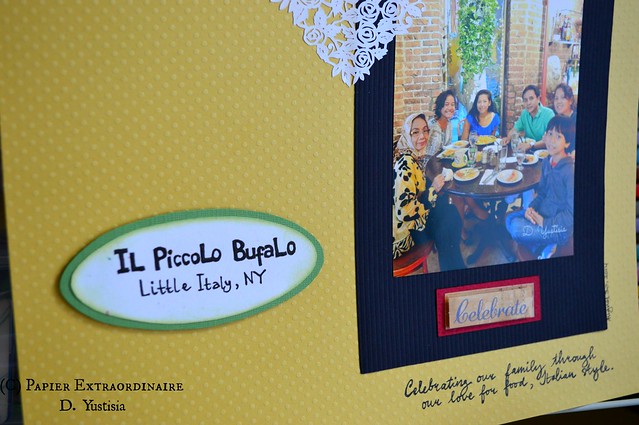
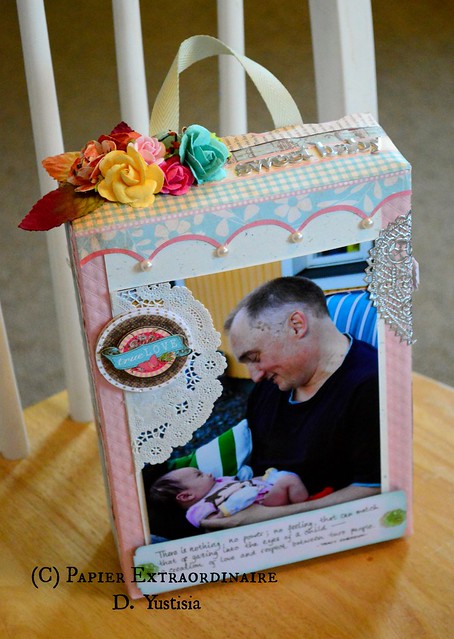
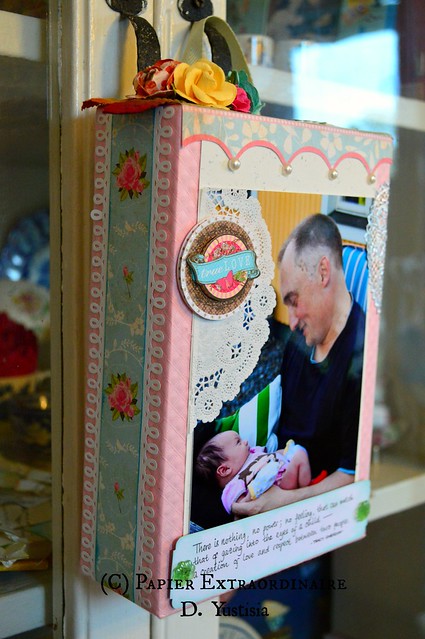
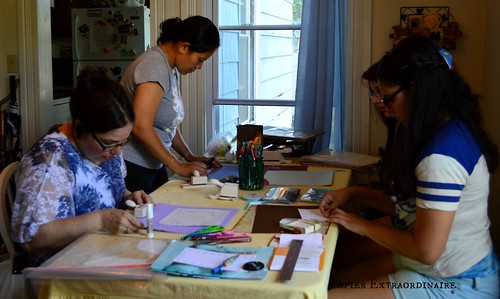
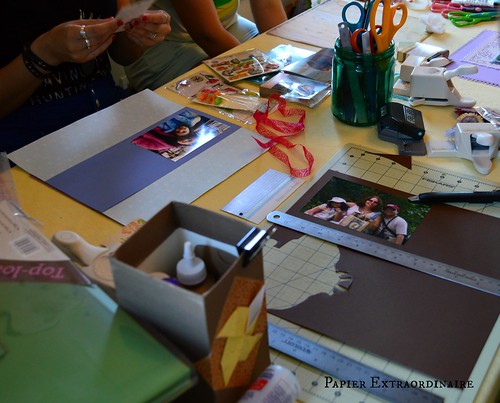
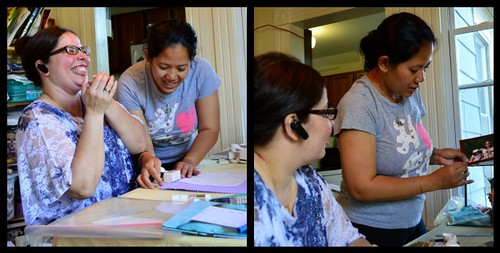
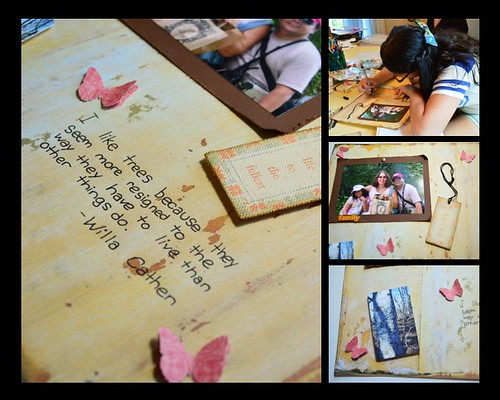
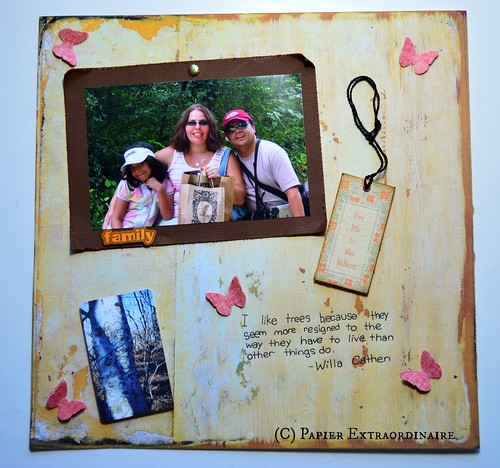
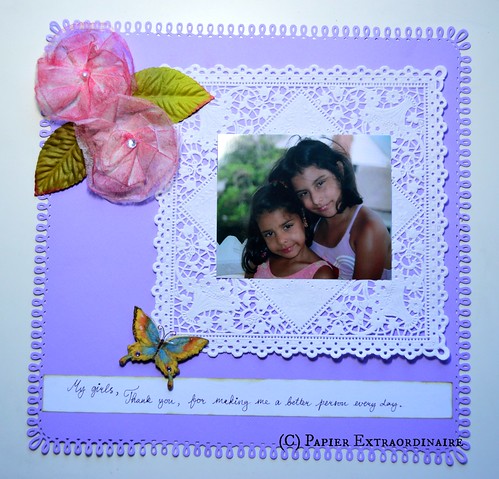
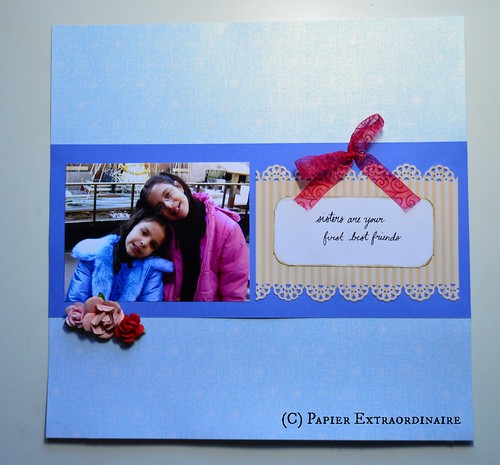
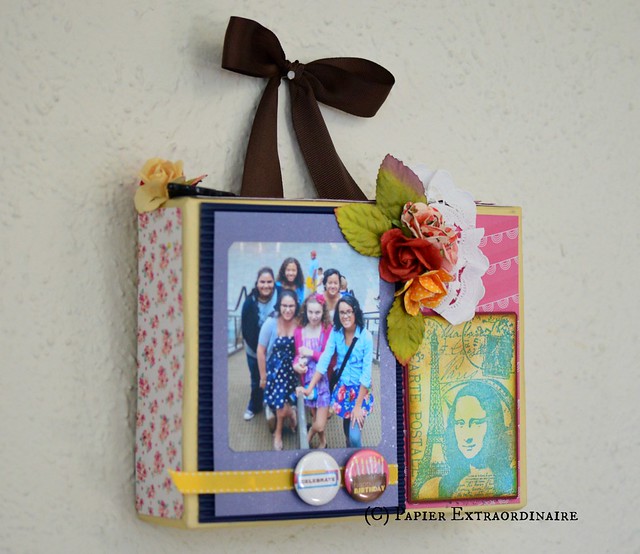
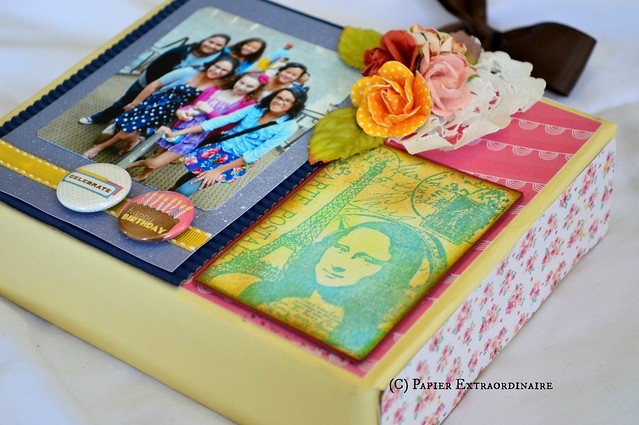
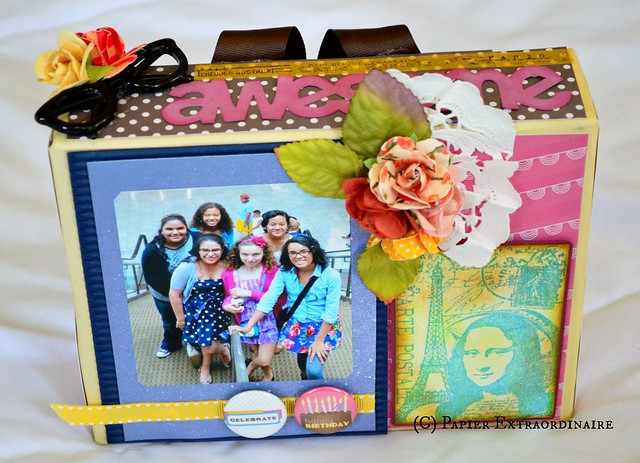
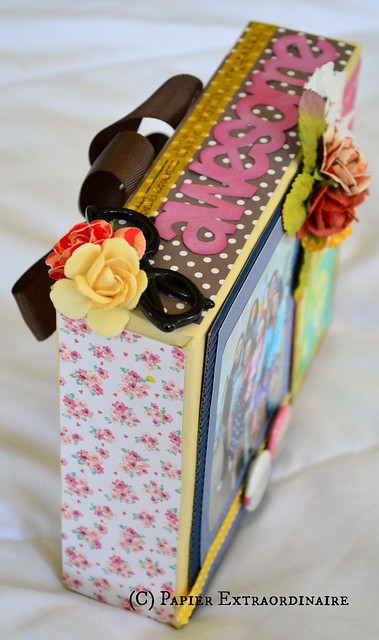
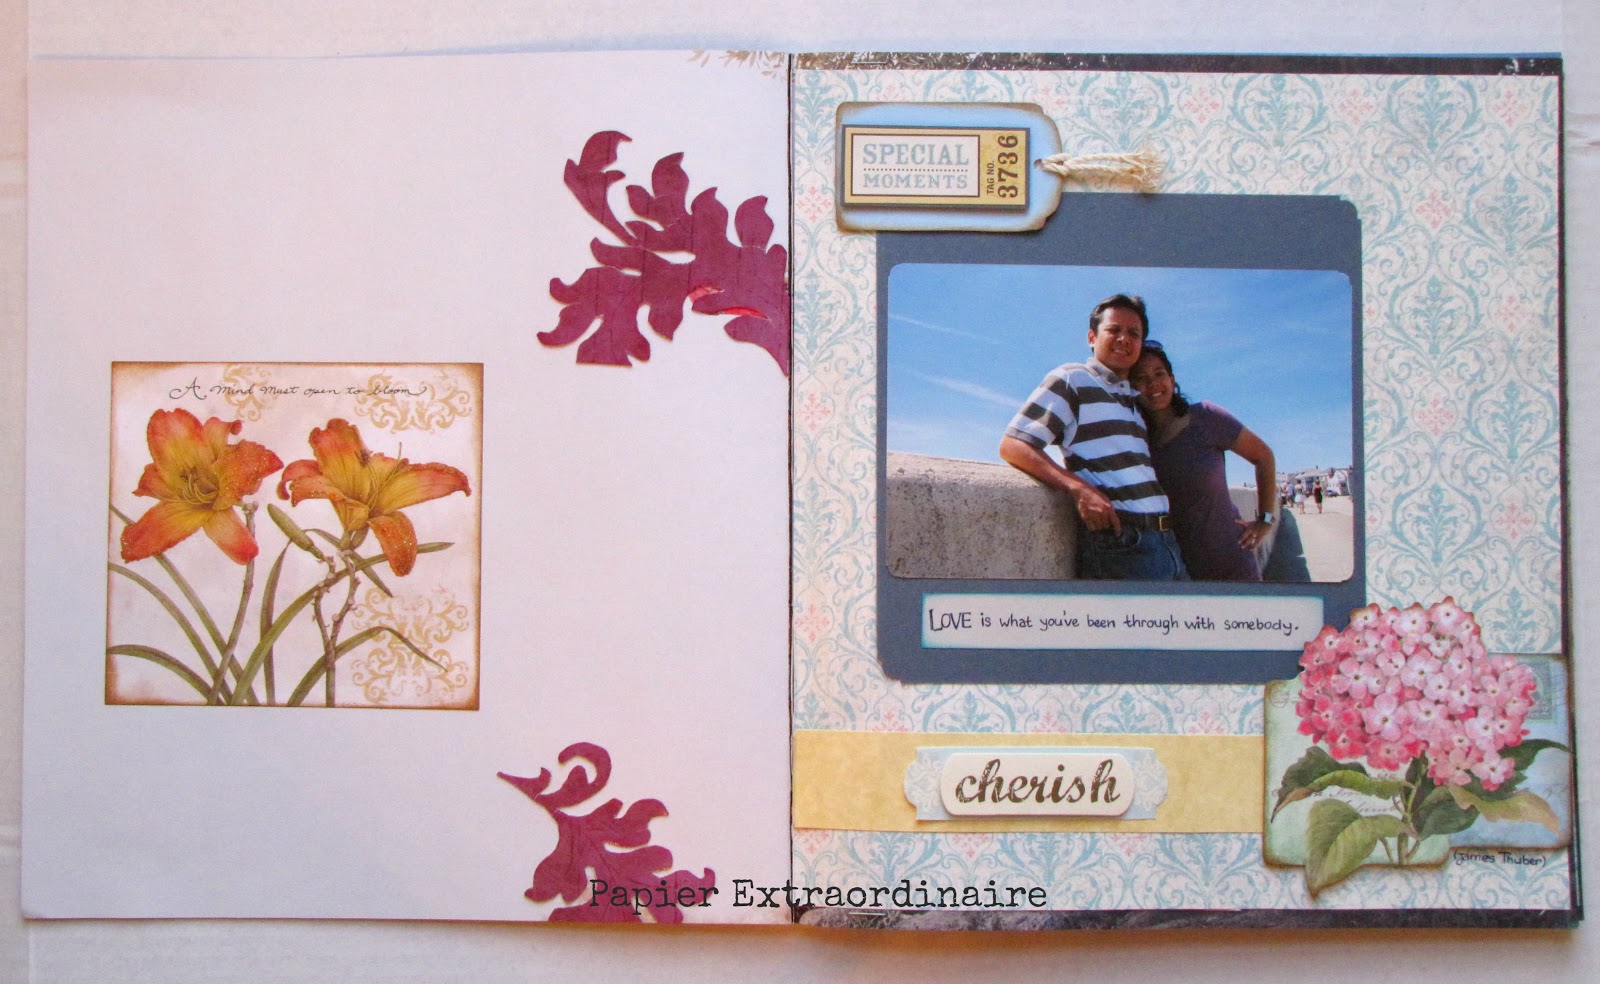
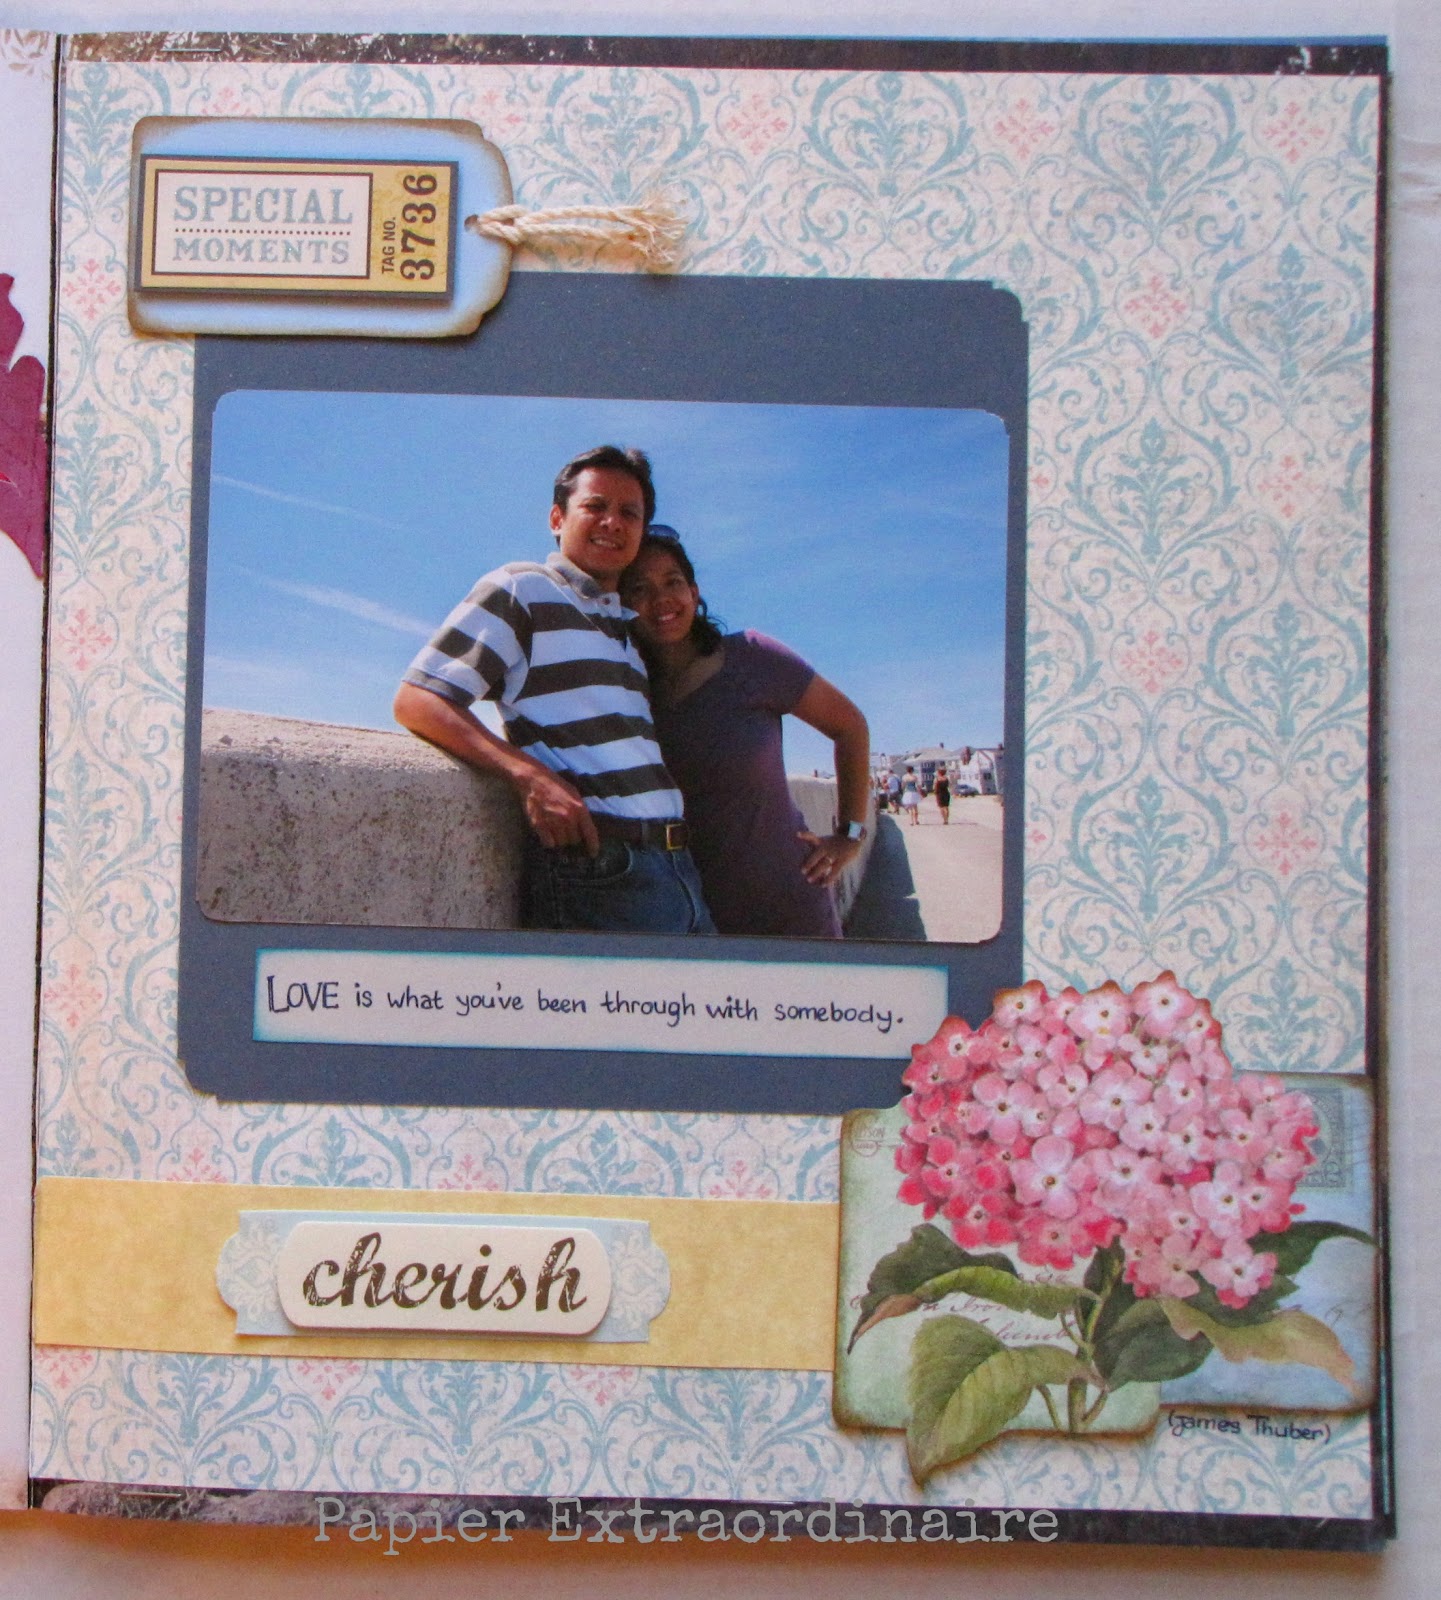
For sometimes, I’d love to send my in laws the latest pictures of our family and some of them in the form of scrapbook pages. My in laws are still traditional about looking at pictures of their grandchildren, the printed ones, instead of the digitally stored on USB drive or CD/DVD. That’s how my mother in law knew about scrapbooking, through my works that I sent to her. She said she would like to learn about scrapbooking, and that’s what we did last week, learning about creating a scrapbook page. My mother in law has just visited us and I chose one day to teach her about scrapbooking. I showed her some of my finished projects, and I would explain them to her about the details in creating them, the materials, etc. Then we picked out a photo from our recent trip to New York and I taught her how to choose the papers that we’re going to use for a scrapbook page, and also about the lay-out of the page. I decided that we would learn about textured papers and how to mix different textures and colors. Beside that, I taught her how to choose the things to embelish the photo. I think my mother in law is hooked on creating a scrapbook and she promised to try to make one when she comes back home.

Scrapbook: Little Italy

Scrapbook: Little Italy

Scrapbook: Little Italy

Hanging Scrapbook for A Sweet Baby Girl

If I told you that this hanging scrapbook used to be two snack boxes, would you believe it? I love boxes and some snack boxes are very sturdy to turn into something. What I did was I used two snack boxes, that one of them, I put it into the other box. This would make the boxes heavier and not easily got toppled when it was placed on a flat surface. Then, I wrapped the box with a wrapping paper, after that I created the scrapbook. I created this project as a gift for a friend who just had a baby. I chose the picture of my friend’s husband gazing lovingly at their daughter, because I fell in love with it right away when I saw it the first time. I thought,”I just got to make a scrapbook out of it”. My theme was floral, romantic, with the mix of pink and light-blue color schemes, instead of using regular baby theme. As soon as I finished this project, I couldn’t help but sighing at how pretty it turned out to be.
Hanging Scrapbook: Sweet Baby

Hanging Scrapbook: Sweet Baby

Hanging Scrapbook: Sweet Baby

Hanging Scrapbook: Sweet Baby

Hanging Scrapbook: Sweet Baby

Hanging Scrapbook: Sweet Baby

Scrapbooking Class with Friends

Yesterday, I invited my friend, Marjorie, and her girls, Camille and Valeria, to our home. I asked Marjorie if she wanted to try making a scrapbook and she’s excited about it. I met Marjorie when we got involved with Walk for Autism that our daughters were participating in. She and I both have two daughters who are close in age. Our scrapbooking class was so much fun, full with some chats, laughs and creativity. I taught the ladies the basic in making scrapbook, to get to know some of the materials that are often used, how to elaborate the picture with the papers and the theme, etc. Marjorie and her girls seemed very interested every time I showed them how to create certain thing that was going to use in their scrapbook. I told them I use things that are consider waste, that later I up-cycle. First, I asked them to choose the pictures that they will use (I had asked them to bring lots of pictures). Then, we learned about choosing the paper for the base that we will explore on how to collaborate with other type of paper and also how to decorate it.

I gave each lady a project to do, starting with how to determine to crop the picture and to adhere it onto the paper. Next, we learned about distressing the paper and inking (to dab or smudge the paper edges with the ink stamp), to accentuate and add a dimension to the paper. Marjorie seemed very interested in punching some papers with the paper punch. We used the loop-patterned paper punch for her scrapbook. Marjorie’s scrapbook theme is romantic, especially because we used a doily to decorate the scrapbook and that’s where we placed the picture. The flowers that adorned Marjorie’s scrapbook came from dyer sheets that I turned into rosettes. While Valeria’s scrapbook is the simplest one, Camille’s took the term “Family Tree” in different view. I love the quote she chose as the sentiment on her scrapbook about tree. As a decoration for Camille’s scrapbook, I I gave her a tag that came from a certain brand of clothes. The image on the tag is a tree and it’s perfect for her scrapbook. We did well on our first scrapbooking class and I can’t wait to have another one with these ladies.

(Thanks to my beloved daughter, Audrey, who took some of the pictures).

Scrapbook Class

Scrapbook Class

Scrapbook Class

Scrapbook Class


The scrapbook pages that we created: Camille’s Family Tree, Marjorie’s My Girls and Valeria’s Sisters (note: Valeria was using a metallic patterned-paper, but due to poor lighting, the pattern didn’t show clearly).

Scrapbook: Family Tree

Scrapbook: My Girls

Scrapbook: Sisters

Camille’s Pretty Scrapbook

Camille is my youngest daughter’s good friend. She’s pretty and so nice. Last month, she turned 13 and she invited several of her friends, including my daughter, to see a movie at the theater. I asked the six friends to pose for some photos that I took for souvenir, after the movie. I wanted to give Camille a unique present for her birthday. So I used one of the picture that I took for a scrapbook project. My project was to create a hanging scrapbook (you got that right, a scrapbook that you can hang on the wall), using a used snack box. A while ago, I posted my project of hanging scrapbook box for my daughter, Audrey. Camille’s hanging scrapbook box is similar and once again I re-purposed a snack box. The snack box has dimensions like so: 18,5cm x 14,5cm x 5cm or 7,25 inches x 5,5 inches x 1,75 inches.

There are the materials that I used and how I made the scrapbook box.

1. Used snack box. Actually, I used two used snack boxes. I inserted one of them into another box to make it more sturdy and heavy. Tape or glue the opening to secure the box.

2. Blank scrapbook paper or any blank paper (wrapping paper or old book pages). I wrapped the box with the blank scrapbook paper until it’s fully covered.

3. Textured and patterned papers. I used textured paper as the base where I placed the picture for the scrapbook, while I used three styles of patterned papers to adorn the front and sides of the box.

4. Things to decorate. For the decorations, I used several choices, like: paper flowers, fabric leaves, doily paper, buttons, a toy (plastic glasses), cut-out word (handmade) and stamped image on paper that then I colored with ink.

5. Picture as the center of attraction. Always remember to use acid-free glue or tape to adhere the photo onto paper.

6. Ribbon, yarn or twill. I adhered a ribbon on the back of the box, then I covered it with a blank paper where I wrote some birthday wishes for Camille. The ribbon is used to hang the scrapbook box on the wall.

The rest is in all the creativity of each. Happy scrapbooking!


Hanging scrapbook project

Hanging scrapbook project

Hanging scrapbook project

Hanging scrapbook project

SCRAPBOOK BOX GANTUNG

Salah satu cara mendayagunakan sebuah kotak bekas tempat makanan ringan adalah dengan menjadikannya sebuah karya indah. Kebetulan putri saya mau berulang tahun dan saya ingin membuat sebentuk ucapan ulang tahun yang lain dari yang lain. Ide SCRAPBOOK BOX GANTUNG ini sudah lama saya rencanakan dan baru sekarang bisa saya jadikan nyata. Bahan-bahan pendukung lainnya yang saya pakai dalam pembuatan scrapbook box gantung ini kebanyakkan adalah bahan-bahan daur-ulang. Untuk pelapis kotaknya saya gunakan halaman dari buku bekas, sedangkan hiasannya berupa kancing-kancing tua, bahkan sehelai bulu burung hasil temuan. Simak uraian saya mengenai bahan-bahan dan cara pembuatan scrapbook box gantung.

BAHAN-BAHAN:

  • Kotak kardus bekas makanan kecil (usahakan yang masih bersih tanpa noda minyak atau sesuatu yang lengket)
  • Beberapa lembar halaman buku tua
  • Sepotong kardus, kupas salah satu bagiannya
  • Sehelai pita atau tali
  • Kertas-kertas sisa
  • Hiasan: kancing-kancing tua, bulu burung, bunga kertas
  • Photo
  • Pelubang kertas
  • Tinta stempel (saya memakai 2 warna).

CARA MEMBUATNYA:

  1. Siapkan kotak bekasnya. Potong sisi kecil (kiri dan kanan) pada bagian atas kotak.
  2. Lapisi permukaan kotak dengan beberapa lembar halaman dari buku bekas.
  3. Lubangi sisi kiri dan kanan kotak dengan pelubang kertas Sematkan pita atau tali ke dalam kotak dan buat simpul.
  4. Remas-remas beberapa lembar halaman buku, lalu masukkan ke dalam kotaknya. Isi sampai 3/4 kotak terisi.
  5. Rekatkan bagian atas kotak, lalu lapisi dengan kertas halaman buku.
  6. Warnai kotaknya dengan cara membubuhkan tinta stempel ke permukaannya. Warnai juga potongan kardusnya.
  7. Rekatkan photo pada potongan kardus yang sudah dikupas. Lalu rekatkan kardusnya ke bagian kotak.
  8. Hias scrapbook box-nya sesuai selera. Tulis ucapan atau kata-kata mutiara sebagai pelengkap.
  9. Buat 4 potongan dari kertas sisa, untuk menutup sudut-sudut kotak.

Gantung scrapbook box sebagai hiasan dinding dan pemanis ruangan. Saya sekedar mengingatkan untuk tidak memasang scrapbook box-nya di daerah yang lembab atau dekat air, supaya hasil karyanya tetap terjaga. Selamat menjajal membuat SCRAPBOOK BOX GANTUNG.

SCRAPBOOK BOX GANTUNG

Scrapbook: Enam Tahun Kemudian

Kenangan masa kecil anak-anak banyak sekali tersimpan dalam bentuk photo. Mencermati photo demi photo dari waktu ke waktu, rasanya ribuan kenangan muncul di kepala. Asyiknya diapakan photo-photo ketiga anak saya ini ya? Ada dua photo yang ternyata jaraknya tepat enam tahun berselang, diambil pada tahun 2006 dan 2012. Posisi ketiga anak saya pun sama, berjajar layaknya anak tangga, dari yang bungsu sampai yang tertua. Saya akhirnya membuatkan dua halaman scrapbook yang bersisian dan seakan bercerita mengenai perkembangan anak-anak selama enam tahun itu. Proyek terbaru ini masih dalam wujud pendayagunaan katalog barang menjadi album scrapbook. Tema scrapbooknya minimalis, dengan kedekatan motif yang bertautan satu sama lain.

Dari Katalog Mewah Menjadi Album Scrapbook (2)

Proyek saya yang sempat saya bahas sebelumnya, yaitu merubah katalog menjadi album scrapbook, saya lanjutkan lagi di sini. Penguraiannya masih dalam tema yang sama dimana tiap halaman katalognya saya gabungkan per 2 atau 3 halaman memakai stapler. Lalu kertas scrapbook saya rekatkan pada halaman yang sudah siap. Di tiap halaman scrapbook, saya hias dengan tulisan LOVE, tema dari albumnya. Saya tidak merubah atau mnghilangkan gambar di halaman-halaman katalognya, sehingga gambar asli yang berupa model memperagakan pakaian atau barang-barang yang ditawarkan masih terlihat. Sebagai catatan, saya menggunakan 3 macam jenis bunga sebagai hiasan di 3 halaman scrapbook dari bahan yang berbeda. Di halaman pertama, saya memakai bunga mawar yang saya keringkan; di halaman kedua, saya memakai sticker bunga yang berupa 3 dimensi; sementara di halaman ketiga, saya memakai bunga kain. Pada halaman pertama, ada hiasan yang terbuat dari plastik mika dan juga jahitan tangan pada kertas cardstock yang memperlihatan perbedaan tekstur serta materi.

Menyatukan Kartu Concertina & Scrapbook

Siapa bilang sebuah kartu ucapan tidak bisa dibuat ala scrapbook, dengan berbagai detail dan sentimen yang indah serta gambar pemanisnya? Sebuah kartu tidak harus berupa selembar kertas yang dilipat dua, kartu bisa dibuat berbentuk CONCERTINA atau bentuk yang menyerupai akordion. Ukuran kertasnya yang pasti harus cukup panjangnya supaya bisa dilipat beberapa kali. Ukuran lipatan bisa disesuaikan dengan keinginan atau supaya mudahnya, lebar libatan adalah pembagian dari panjangnya, misalkan dibagi 3 atau 4 lipatan. Sesudah tema dari kartunya ditentukan, mulai dengan mengisi halaman demi halaman kartunya. Setiap halaman harus berhubungan satu sama lain dan seakan menciptakan sebuah cerita. Supaya kartu concertinanya menyerupai penampilan scrapbook, kartu harus dihiasi dengan sebuah gambar atau photo, dilengkapi dengan pesan yang bisa berupa uraian panjang atau puisi. Selebihnya, terserah bagaimana pengembangan kreatifitas masing-masing untuk menciptakan sebuah kartu ucapan yang lain dari yang lain.

4a8b0-concertina-xmas

Kartu concertina ini dibagi menjadi 3 yang mendapat sentuhan suasana Natal pada tahun akhir abad 18 dan awal abad 19.

44807-concertina-xmas1

Tiap halaman dalam kartunya memiliki hiasan yang berbeda tapi tetap berkesinambungan. Puisi karangan pujangga dari era yang sama menjadi hal utama di 2 halaman. Hiasan-hiasannya juga disesuaikan dengan tema yang ditampilkan, melalui ephemera (gambar burung dan bunga), serta hiasan berupa “vintage trim” menambah ketegasan tema dari kartunya. Hiasan lain berupa bulu burung quail (puyuh) yang biasa digunakan sebagai penghias di era 1800 turut melengkapi kartu concertinanya.

d0e8a-concertina-xmas3

Dari Katalog Mewah Menjadi Album Scrapbook

Beberapa kali surat kabar langganan kami diberi sisipan katalog mewah yang menawarkan pakaian, sepatu, tas dan aksesoris dari merk-merk ternama. Barang-barangnya yang pasti tidak akan terbeli melihat situasi keuangan kami. Tapi bahan kertas dan wujud dari katalognya sendiri dibuat semewah mungkin, jadinya sayang kalau dibuang. Ukurannya pas sekali untuk dijadikan album scrapbook atau buku jurnal, terserah kreatifitas masing-masing. Di awal tahun ini, proyek saya terbaru adalah membuat album scrapbook dalam rangka merayakan ultah perkawinan saya dan suami. Ukuran katalognya 26cm x 28 cm. Cara saya untuk membuat sebuah halaman scrapbooknya adalah dengan merekatkan 2 halaman dengan stapler. Kemudian 2 halaman sesudahnya dipotong, baru 2 halaman selanjutnya direkatkan lagi untuk halaman berikutnya. Cara ini mengurangi tumpang-tindih kalau halamannya akan mengganjal akibat hiasannya. Kali ini saya menempelkan kertas scrapbook pada halaman katalognya dan tidak membubuhkan cat atau tinta seperti proyek sebelumnya, sementara bagian lain katalog saya biarkan apa adanya. Semua halaman yang saya jadikan halaman scrapbook berada di sebelah kanan, sehingga albumnya terlihat lebih rapi dan tidak berdesakan.
Keterangan: halaman pertama katalog saya potong dan rekatkan pada sampul katalognya, lalu hias dengan gambar ephemera (berupa bunga) dan potongan dari bekas kotak tissue (motif flourish).

Katalog barang mewah

The Finished Calendar Scrapbook

At last, the project that I started a month ago has finished. My media is an old calendar that I turned into a scrapbook album. I really enjoyed doing it and thought of creating another one, since end of the year is approaching, there’ll be another calendar available. The album that I called AUTUMN IN CONNECTICUT is about the photo series of sceneries that I took throughout parts of Connecticut during Autumn. Looking at the pictures always bring smile and peace to my self. Of all the four seasons, I think I love Autumn the most.